Procedural lake water breakdown

A simple breakdown covering a procedural water shader for large surfaces, that combines both reflection and refraction according to the view angle and distance. That is, indeed, how real water actually works.
You can download the shader here
This tutorial comes for FStormRender, but the concepts can be used for any render engine.


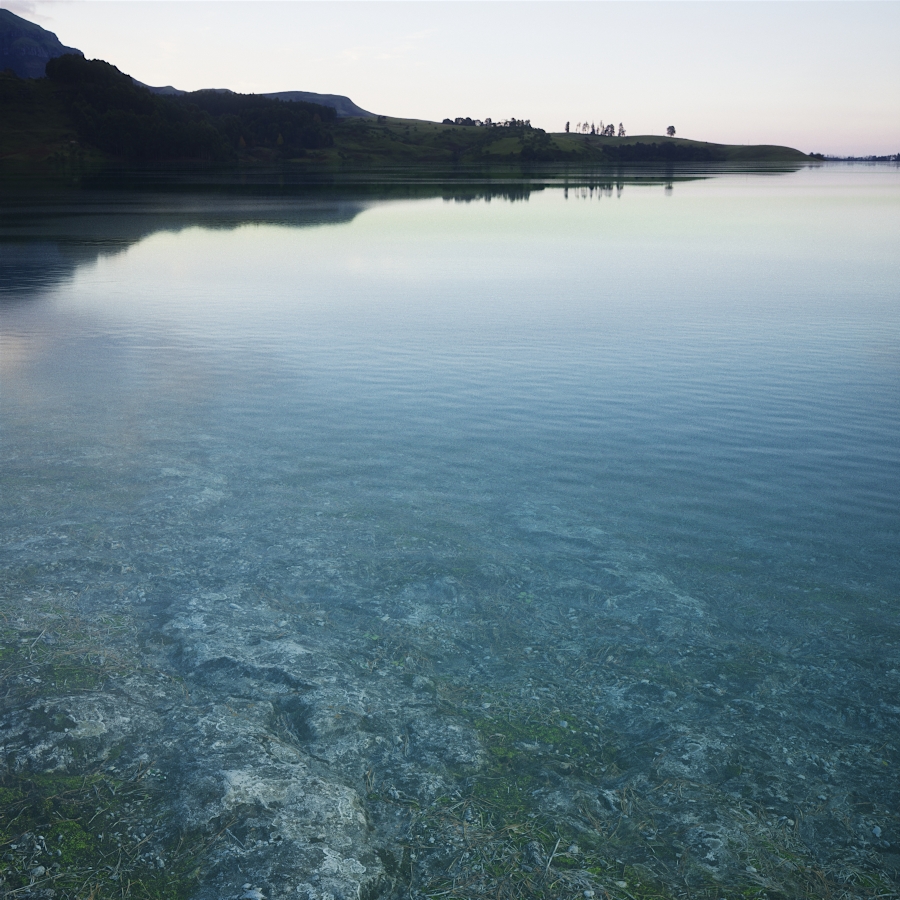
Let's start with what we want to achieve. We want a surface that looks more transparent and wavy when close to it, and more reflective and smooth far away.
To do that we we will separate the shader into two main parts: foreground and background.
While the foreground will be less reflective and more refractive, the background will be the opposite:
not refracting, and more reflective.
Also, we want to add some variations to the water reflections in the background far
away, so that the effect doesn't look too homogeneous.
Background (far)
- Stronger and sharper reflections, less bump, no refraction
- Variations on reflections
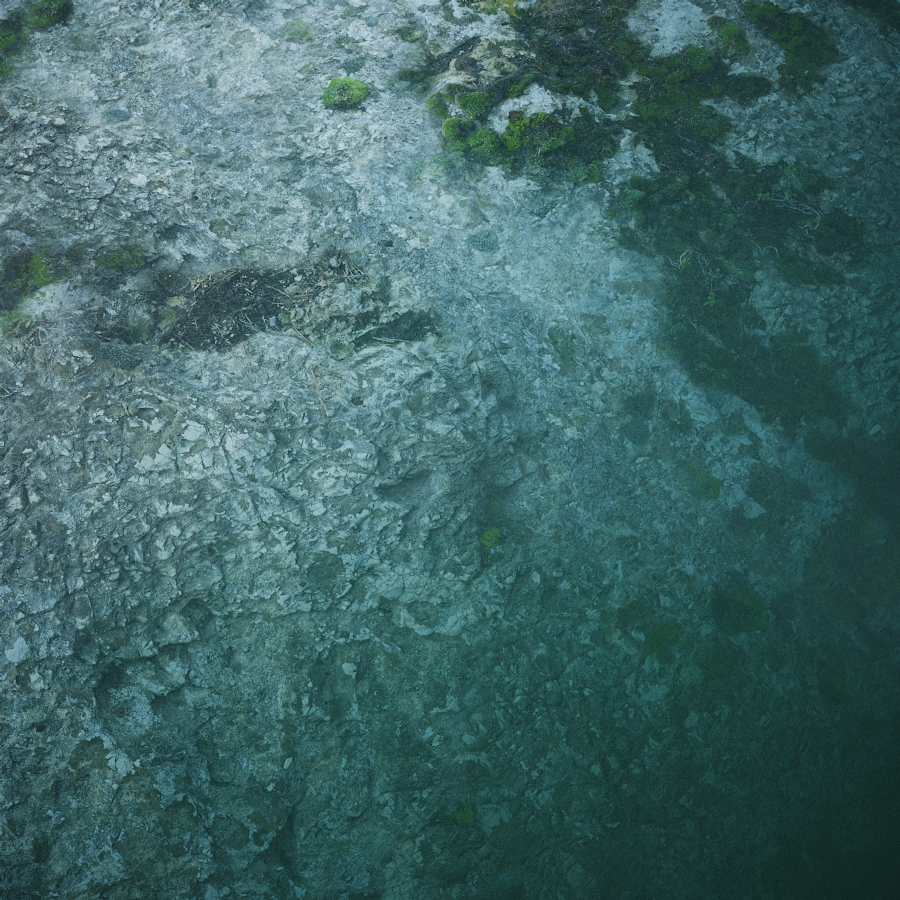
Foreground (close)
- Stronger bump effect
- Less reflection
- Refraction
- Scattering and Absorption
In the end, we will merge the foreground with the background, we will use a quite contrasted Falloff map.
To study the shader in different light conditions, I used some HDRIs from HDRIHaven.


Let's see the complete material and analyze it a bit: let's start with the "water-near" material, which is our foreground.
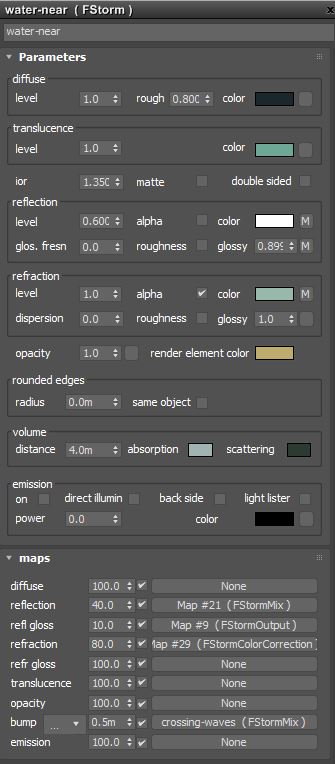
Foreground material (water-near)
The most challenging part here was tweaking the refraction along with scattering and absorption to achieve a credible effect.
I would say that these values depend by the type of water you are creating.
Personally I tend to use quite often the "maps" tab at the bottom of the material properties, it is really useful to smooth out the contribution of the connected nodes.

Adding some slight variations to the reflections and refractions, using noise maps and mixes.
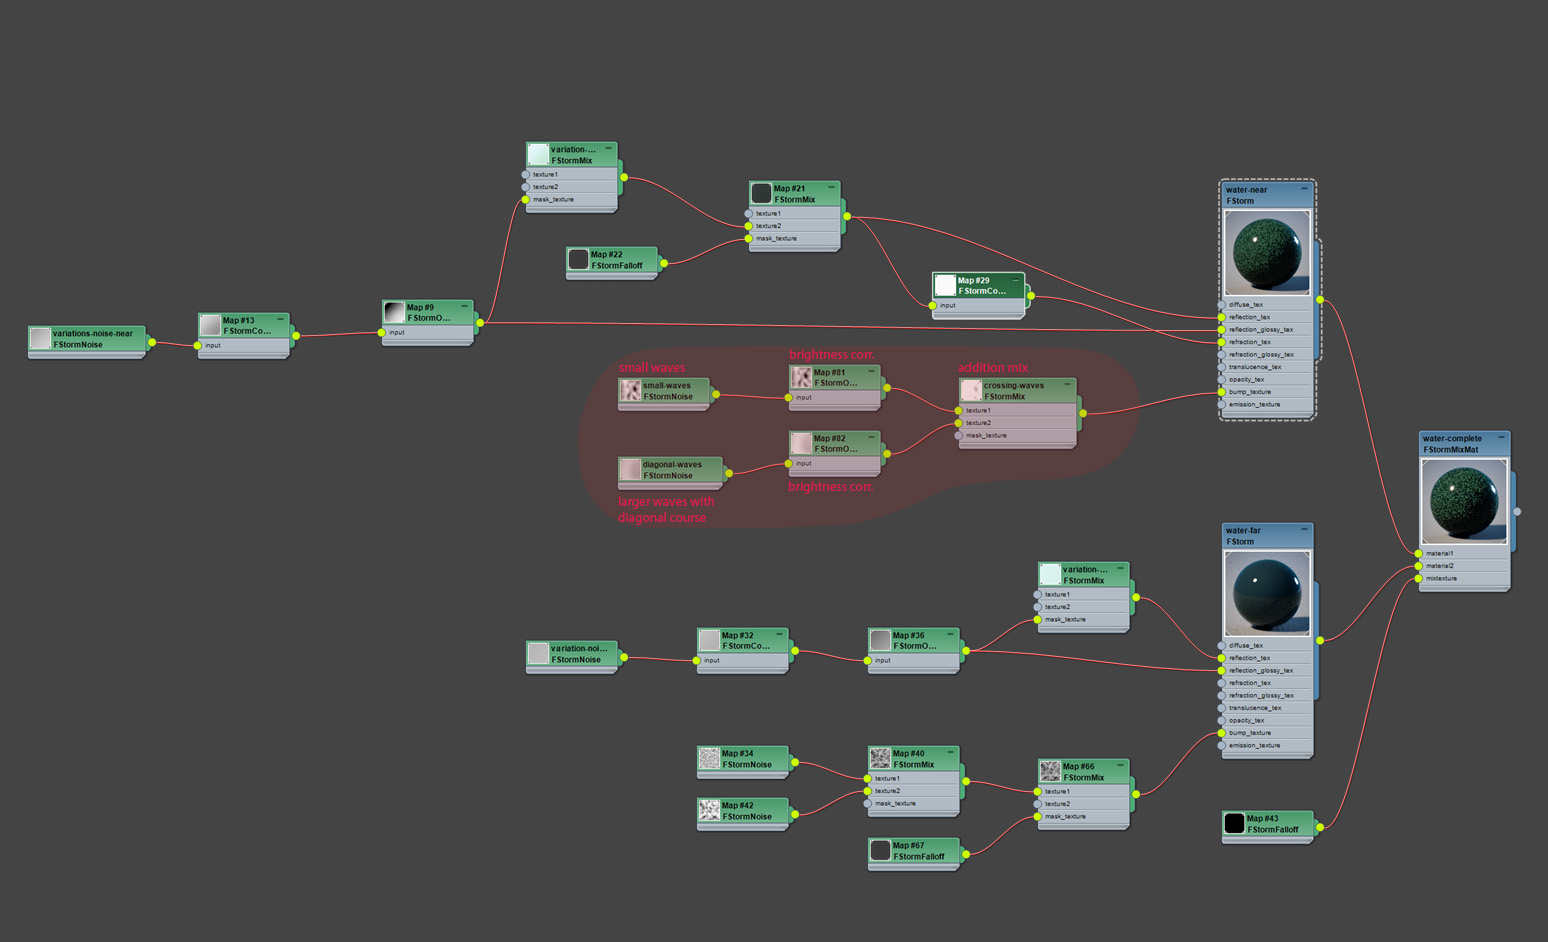
Bump maps. We are mixing two noise maps having different size and direction, so we can achieve larger smooth waves over the smaller ones.
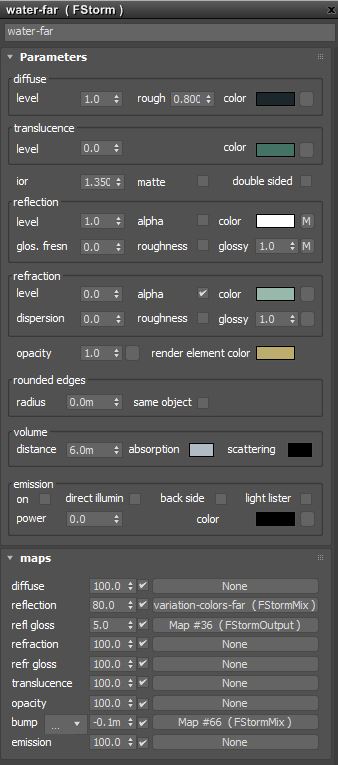
Background material (water-far)
Here things get pretty straightforward since we want the result to be a simple reflective material with stronger variations.

Some variations in the reflection and reflection glossiness.

We can add some slight bump effect as long as it stops far away. This way we can get sharper reflections.
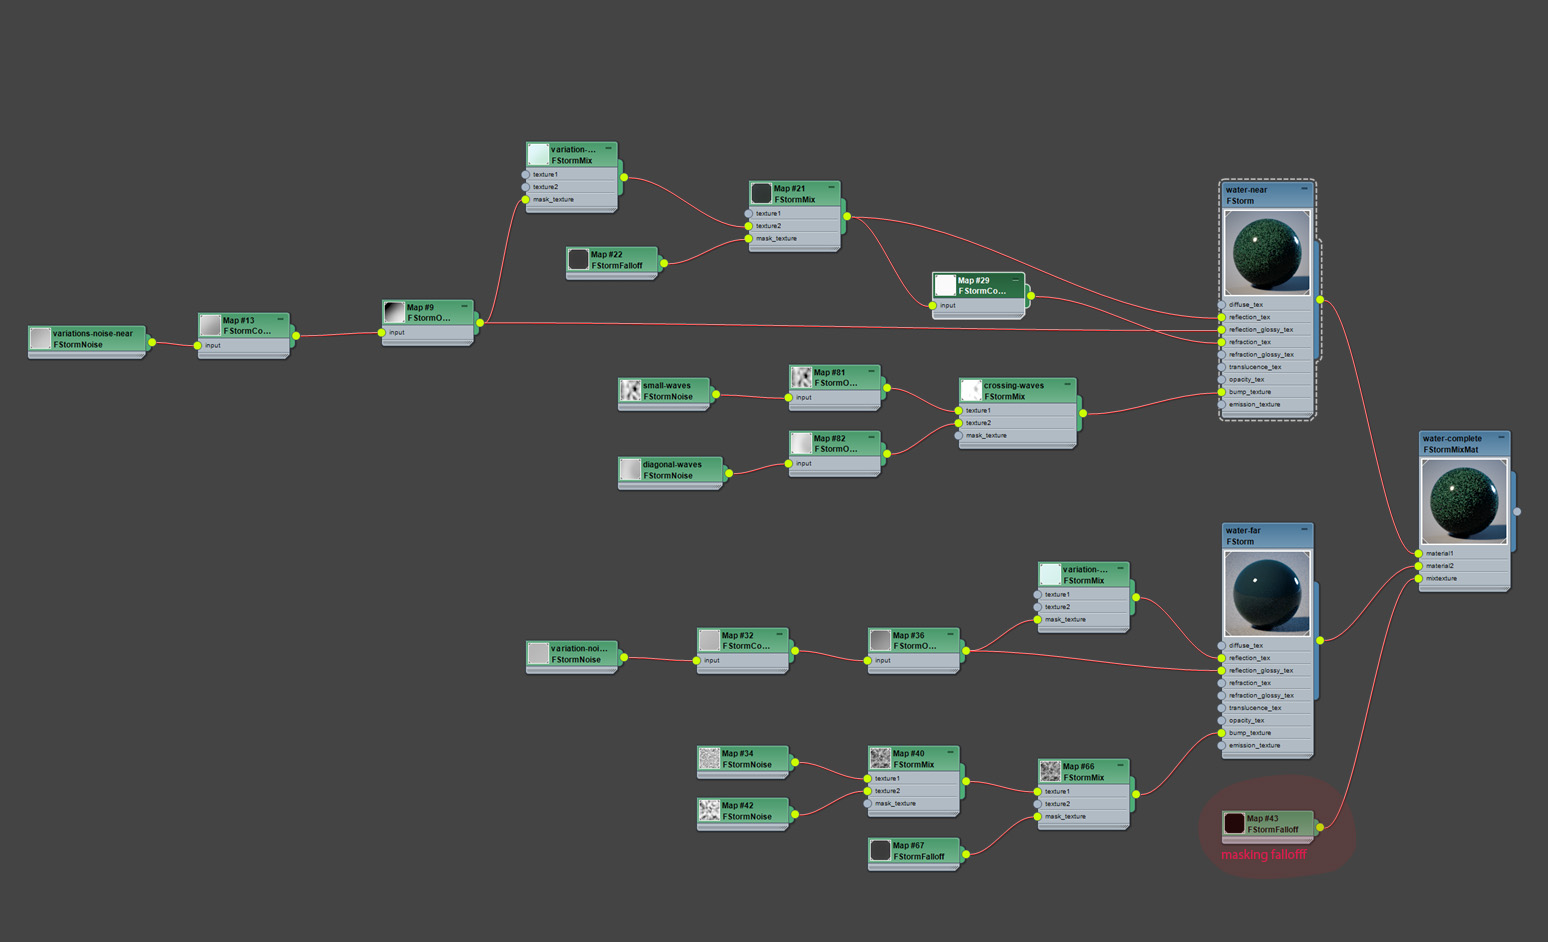
Combining it up
Finally, we can combine both materials together, and we are going to use a falloff map.
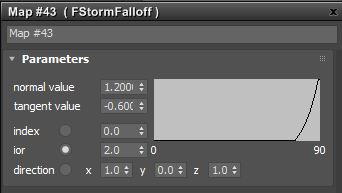
This falloff is important since it controls the blending, so we have to pay attention to its behaviour: we'll make a more contrasted falloff so we gain control over the distance.

Here is how our falloff map looks. I have used colors to show the effect of the mask.
That's it!
Really hope this small tutorial was useful to you. Of course don't forget to get the material here!
If you wish to support us, you may follow our facebook page!